Lead Pipe Replacement Process Explained
You usually find out you have a lead supply pipe at the worst moment – during a home purchase, after a low-pressure problem, or when a water quality concern raises questions about the incoming main. If you are searching for the lead pipe replacement process explained, what you really want to know is simple: what happens, how disruptive it is, how long it takes, and whether your driveway or garden will be left in a mess.
The good news is that replacing a lead water supply pipe is often far more straightforward than people expect. Modern trenchless methods mean many installations can be completed with very limited excavation, and for most homeowners the job is more about planning the route properly than digging up half the property. The exact method depends on the layout of the site, the condition of the old pipe, and where the boundary stop tap and internal connection point sit.
Lead pipe replacement process explained step by step
The starting point is a site assessment. A specialist contractor needs to establish where the existing supply enters the property, whether the lead pipe serves only your home, and what route a new pipe can take from the boundary to the internal stop tap or another agreed entry point. In some homes, especially older terraces and semis, the original route may pass under paths, extensions, floors, or mature landscaping, so a replacement is planned around least disruption rather than simply copying the old line.
At this stage, the contractor will usually confirm pipe material, check available water pressure, review access constraints, and identify whether trenchless moling is suitable. This matters because no-dig installation is often the cleanest option for gardens, drives, and paved areas, but it is not always the right one. Ground conditions, buried services, and tight working space can change the approach.
Once the route is agreed, preparation work begins. That may include marking out existing utility services, arranging any required permissions, and confirming where excavations are needed. Even a no-dig installation is not completely dig-free. Small launch and reception pits are normally required so the new pipe can be installed underground without opening a full trench across the property.
Is the whole lead pipe always replaced?
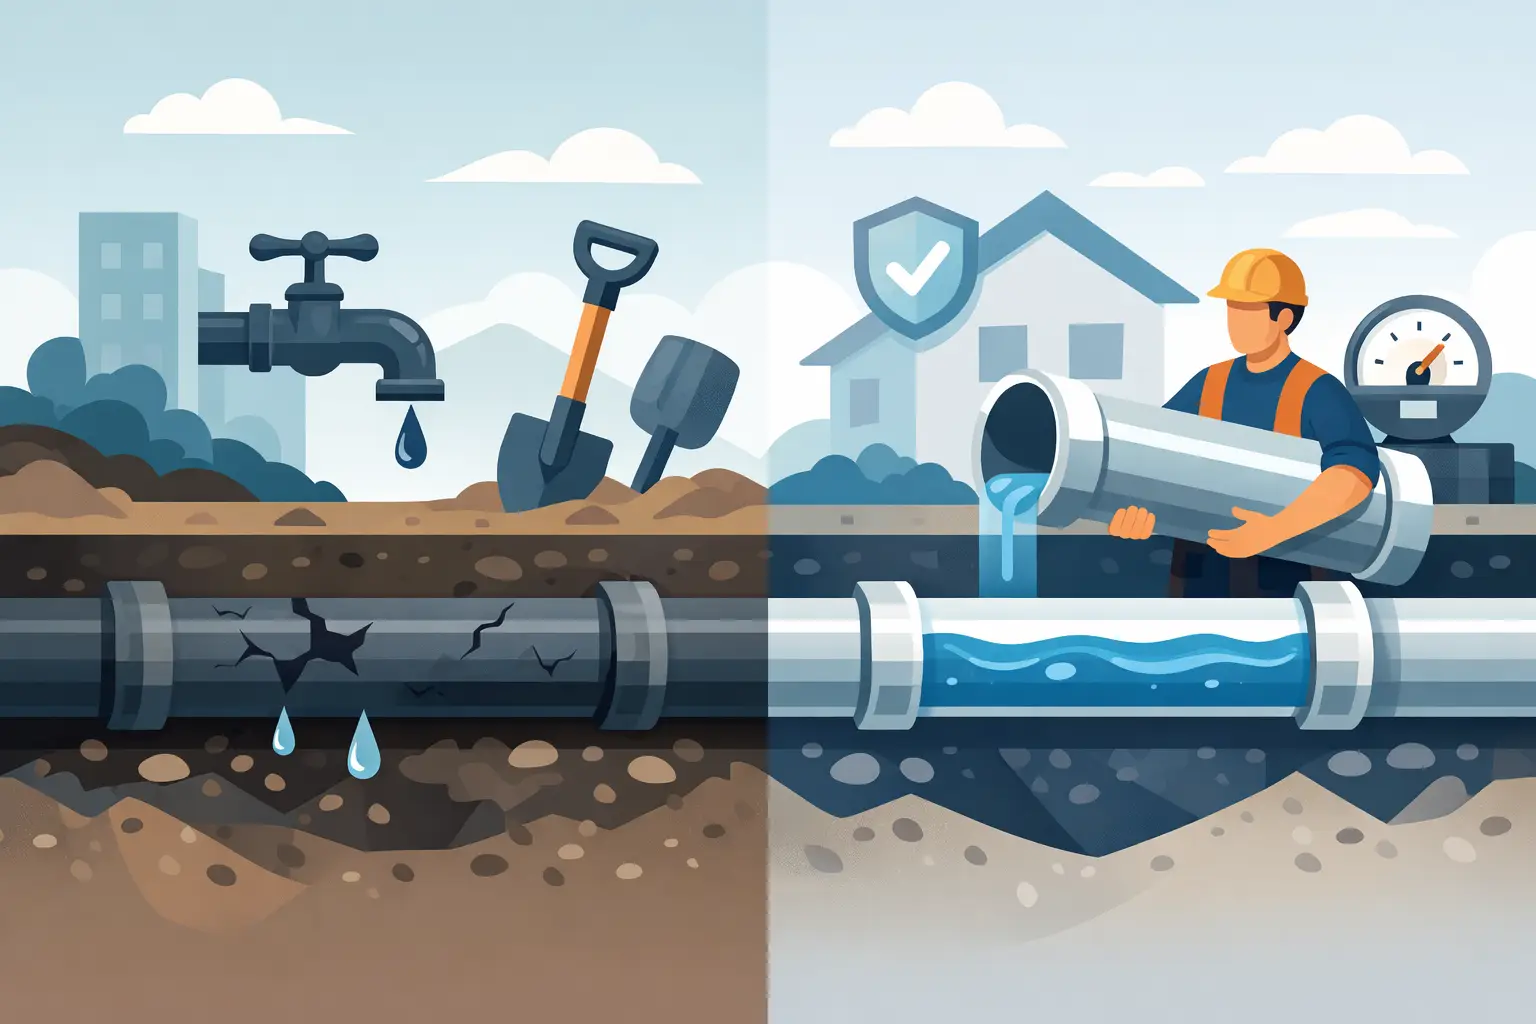
In most cases, the aim is full replacement of the private lead supply pipe rather than partial repair. Leaving sections of lead in place reduces the benefit of the work and may create future weak points. For homeowners, full replacement is usually the clearest long-term solution because it improves water quality, reduces leak risk, and removes uncertainty for future surveys or property sales.
There are situations where responsibilities are split. The section within your boundary is usually the property owner’s responsibility, while the water company may be responsible for the communication pipe in the public highway. Whether both sections are replaced at the same time depends on the local water undertaker’s policies and the specifics of the property.
What happens on the day of replacement
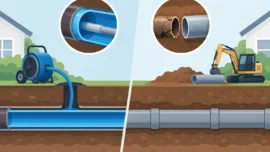
On the day of the works, the team will set up the site, protect the working area, and isolate the existing supply where required. If the new pipe is being installed by moling, two or more small excavations are created at planned points. A pneumatic mole is then used to bore underground and pull or install the new water supply pipe along the agreed route.
This method is particularly useful where homeowners want to avoid long trenches through lawns, block paving, or decorative surfaces. It is fast and cost effective in the right conditions, and it significantly cuts reinstatement compared with traditional open-cut excavation. That said, if the route crosses heavily congested utility areas or the ground is unsuitable, trench excavation may still be the safer option.
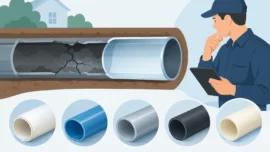
The new pipe itself is typically a modern approved plastic pipe suitable for potable water. It is laid to the correct depth, sleeved where it enters the building, and brought into the property at the agreed point. The internal connection is then made to the existing plumbing, usually near the internal stop tap, though this varies with property layout.
Internal works and entry points
Many customers are more concerned about internal disruption than the outside digging. In practice, internal works are often limited and controlled. A small core hole may be needed where the new pipe enters the building, and the final connection may involve minor plumbing adjustments.
If the current stop tap is in an awkward position, there may be a discussion about whether it makes sense to improve the internal arrangement while the replacement is being carried out. This is one of those areas where it depends. Keeping to the existing arrangement can reduce cost, but a better entry point may improve access and future maintenance.
How long does lead pipe replacement take?
For a straightforward domestic installation, the physical replacement is often completed within a day. More complex sites may take longer, particularly if there are access restrictions, difficult reinstatement requirements, or coordination with the water company is needed.
The timescale is not only about digging and pipe laying. Testing, connection, flushing, and making good all take time, and a professional contractor will not rush the final stages just to leave early. For landlords and commercial property managers, this matters because reliable scheduling is often more valuable than an optimistic promise that slips.
Testing, commissioning and sign-off
After the new pipe is installed, it needs to be pressure tested and flushed before being brought fully into service. The contractor will check for leaks, confirm a sound connection, and make sure the supply is operating correctly. Water quality considerations are part of the process, especially where an old lead pipe has been taken out of service and a new potable supply is being commissioned.
Where relevant, work should be carried out in line with water industry requirements and approvals. This is why many customers look for accredited specialists rather than a general groundworker or plumber attempting a job that crosses external civils and regulated water supply work. Approvals, insurance cover, and workmanship guarantees are not marketing extras here – they reduce risk for the property owner.
How much disruption should you expect?
This is usually the deciding factor for homeowners. The honest answer is some disruption, but usually far less than people fear. You should expect localised excavations, noise from equipment, temporary water isolation during the switchover, and some site activity around access points. What you should not accept is unnecessary excavation, poor communication, or a site left untidy.
A properly planned trenchless installation keeps the footprint tight and the reinstatement manageable. Driveways, patios, and lawns can often be preserved with only limited openings. Traditional trenching still has a place and may be unavoidable on some sites, but it should be chosen because the ground or route demands it, not because it is the only method the contractor offers.
Reinstatement and finish
Reinstatement quality makes a big difference to how customers judge the whole job. Replacing the pipe is only half the story if paths are left uneven or paved areas are patched poorly. Good contractors plan reinstatement from the outset, especially on visible surfaces such as block paving, flags, resin-bound areas, and decorative gardens.
This is one reason specialist firms tend to outperform general trades on this type of work. The job is not just plumbing and not just excavation. It sits between civils, water compliance, and property reinstatement, so experience across all three matters.
What can affect the method or cost?
No two properties are identical, so quotes can vary for sensible reasons. The length of run, depth of pipe, access limitations, ground conditions, and reinstatement standard all influence the scope. A pipe run under open lawn is very different from one that needs to pass beneath a paved drive and enter through a finished kitchen floor.
Shared supplies can also complicate matters. If neighbouring properties are connected in a way that was common in older housing stock, the replacement may need extra investigation and coordination. Likewise, commercial sites may require method statements, permit controls, or out-of-hours working to avoid operational disruption.
For that reason, the cheapest quote is not always the most cost effective. A contractor using the right method first time, with proper approvals and a clear reinstatement standard, often saves money compared with remedial works later.
Why specialist lead pipe replacement matters
If you want the lead pipe replacement process explained in one line, it is this: assess the route, install a new compliant supply by the least disruptive suitable method, connect it properly, test it thoroughly, and leave the site in good order. That sounds simple because, in experienced hands, it should be.
For customers across the North West, that is exactly why firms such as Watermains & Drains UK focus on specialist water supply replacement rather than treating it as an add-on service. The value is not just in changing a pipe. It is in getting the route right, minimising disruption, meeting approval standards, and finishing the job cleanly.
If you suspect your property still has a lead supply, the sensible next step is not to guess from the age of the house or wait for a bigger problem. A clear site assessment usually answers most of the questions quickly, and once you know the route and method, the job becomes much easier to plan around.